Sear & Steam Method: The Secret to Tender, Flavorful Shredded Chicken
Are you tired of dry, bland, or stringy shredded chicken? If you’ve ever wished for a reliable way to achieve perfectly tender, juicy, and incredibly flavorful shredded chicken every single time, your search ends here. Welcome to the ultimate guide for mastering the perfect shredded chicken recipe using a revolutionary technique: the sear & steam method. This approach guarantees succulent results, transforming your chicken from a mere ingredient into a culinary star, ready for countless dishes from vibrant chicken tacos to comforting soups and hearty salads.
Forget the old methods of simply boiling or slow cooking, which often leave chicken lacking in taste and moisture. Our innovative sear & steam technique is fast, efficient, and, most importantly, locks in incredible flavor and tenderness. It’s a game-changer for weeknight dinners and an absolute essential for efficient meal prep, allowing you to create a versatile protein base in just about 30 minutes. Once you experience the difference, you'll understand why this method is hailed as the secret to truly unforgettable shredded chicken.
Why the Sear & Steam Method Outperforms Traditional Cooking
When it comes to preparing chicken for shredding, many home cooks default to boiling, poaching, or slow cooking. While these methods can yield cooked chicken, they often fall short on flavor and texture. The sear & steam method, however, addresses these common pitfalls, elevating your shredded chicken to a new level of deliciousness. Here’s why it stands out:
- Unrivaled Flavor Development: The initial searing step is where the magic happens. By briefly caramelizing the chicken's exterior, you initiate the Maillard reaction, creating a rich, savory crust that translates into a far more complex and appealing flavor profile than chicken that is simply boiled or poached. This foundational flavor is key to the perfect shredded chicken recipe.
- Guaranteed Juiciness: Unlike boiling, which can leach out natural juices, the sear & steam technique actively seals them in. The quick high-heat sear forms a barrier, while the subsequent gentle steaming ensures the chicken cooks through in its own moisture, resulting in chicken that's unbelievably moist and never dry or tough.
- Enhanced Nutrient Retention: Shorter cooking times are not just about convenience; they also mean better preservation of delicate, water-soluble vitamins like Vitamin C and various B vitamins, which can be lost during prolonged boiling or slow cooking.
- Speed and Efficiency: From stovetop to shredding, you're looking at approximately 30 minutes. This makes it an ideal option for busy weeknights or for quickly adding a protein boost to your meal prep without sacrificing quality. For more on quick and juicy chicken, see our article: Forget Boiling: Juicy Shredded Chicken in 30 Minutes.
- Ideal Texture for Shredding: The balanced cook of sear & steam yields chicken that is perfectly tender and pull-apart, but never soggy or overly chewy. This texture is paramount for versatile applications like tacos, enchiladas, and pasta dishes, allowing the chicken to absorb flavors beautifully.
- A Meal Prep Superstar: Prepare a generous batch of this juicy chicken, and you have a ready-to-use protein for days. It stores wonderfully in the fridge or freezer, making healthy eating effortless.
Gather Your Ingredients: Simplicity Meets Flavor
One of the beauties of this perfect shredded chicken recipe is its simplicity. You don't need a pantry full of exotic spices to achieve incredible results. The focus is on quality ingredients and a technique that enhances their natural goodness.
- Chicken Breasts: Boneless, skinless chicken breasts are the undisputed champion for this method. Their consistent size and lean meat make them easy to cook evenly and shred effortlessly. You can also use boneless, skinless chicken thighs for a richer flavor, though cooking times might vary slightly.
- Chicken Broth: This is crucial for both flavor and moisture. A good quality chicken broth or stock adds depth and ensures the chicken steams in a savory liquid, preventing any dryness. Water can be substituted in a pinch, but broth is highly recommended.
- Olive Oil: A couple of tablespoons are all you need for the searing process. It helps create that coveted golden-brown crust.
- Basic Seasonings:
- Salt and Pepper: These are non-negotiable. Season generously to bring out the chicken's natural taste.
- Garlic Powder: Adds an essential layer of savory aromatic flavor without the risk of burning fresh garlic during searing.
- Optional Flavor Boosters: Don't hesitate to customize!
- Onion Powder: For an extra depth of umami.
- Paprika (smoked or sweet): Adds color and a subtle smoky or sweet note.
- Chili Powder or Cumin: Perfect if you're aiming for a Tex-Mex profile for dishes like chicken tacos or fajitas.
- Dried Herbs (e.g., oregano, thyme): For an Italian or Mediterranean twist.
Step-by-Step: Achieving the Perfect Shredded Chicken
Follow these precise steps, and you'll be on your way to a batch of the most tender and flavorful shredded chicken you've ever made.
1. Prepare and Season the Chicken
Begin by patting your chicken breasts completely dry with paper towels. This step is critical because excess moisture inhibits proper searing and crust formation. Once dry, generously season both sides of the chicken with salt, black pepper, and garlic powder. If using other optional spices like paprika or onion powder, add them now. Don't be shy with the seasoning; a well-seasoned exterior contributes significantly to the final flavor.
2. Sear for Deep Flavor
Heat 2 tablespoons of olive oil in a large skillet or Dutch oven over medium-high heat until shimmering. Carefully add the seasoned chicken breasts, ensuring not to overcrowd the pan. If necessary, work in batches. Sear for 3 minutes on the first side until a beautiful golden-brown crust develops. Flip the chicken and sear for another 1-3 minutes on the second side. Remember, the goal here is to develop rich flavor and color on the exterior, not to cook the chicken through. This initial sear is the secret to its incredible taste, far superior to plain boiled chicken.
3. Steam to Finish Cooking
Once both sides are seared, reduce the heat to medium-low. Pour 1-2 cups of chicken broth into the skillet. The liquid should come about halfway up the sides of the chicken. If it evaporates too quickly, add a splash more. Immediately cover the skillet tightly with a lid. Allow the chicken to steam until it reaches an internal temperature of 165°F (74°C), which typically takes about 15-20 minutes, depending on the thickness of your chicken breasts. Using a meat thermometer is the most reliable way to ensure perfect doneness without overcooking. The steam gently cooks the chicken, keeping it incredibly moist inside its seared shell.
Pro Tip: Do not discard the flavorful cooking liquid! This broth is liquid gold. You can reserve it to add back to your shredded chicken for extra moisture and flavor, or save it for future soups and stews.
4. Rest for Ultimate Juiciness
Once the chicken reaches 165°F, remove it from the skillet and transfer it to a cutting board. Crucially, allow the chicken to rest for at least 10 minutes (15 is even better) before shredding. This resting period allows the juices to redistribute throughout the meat, ensuring every bite is tender and moist. Skipping this step is a common mistake that leads to dry chicken.
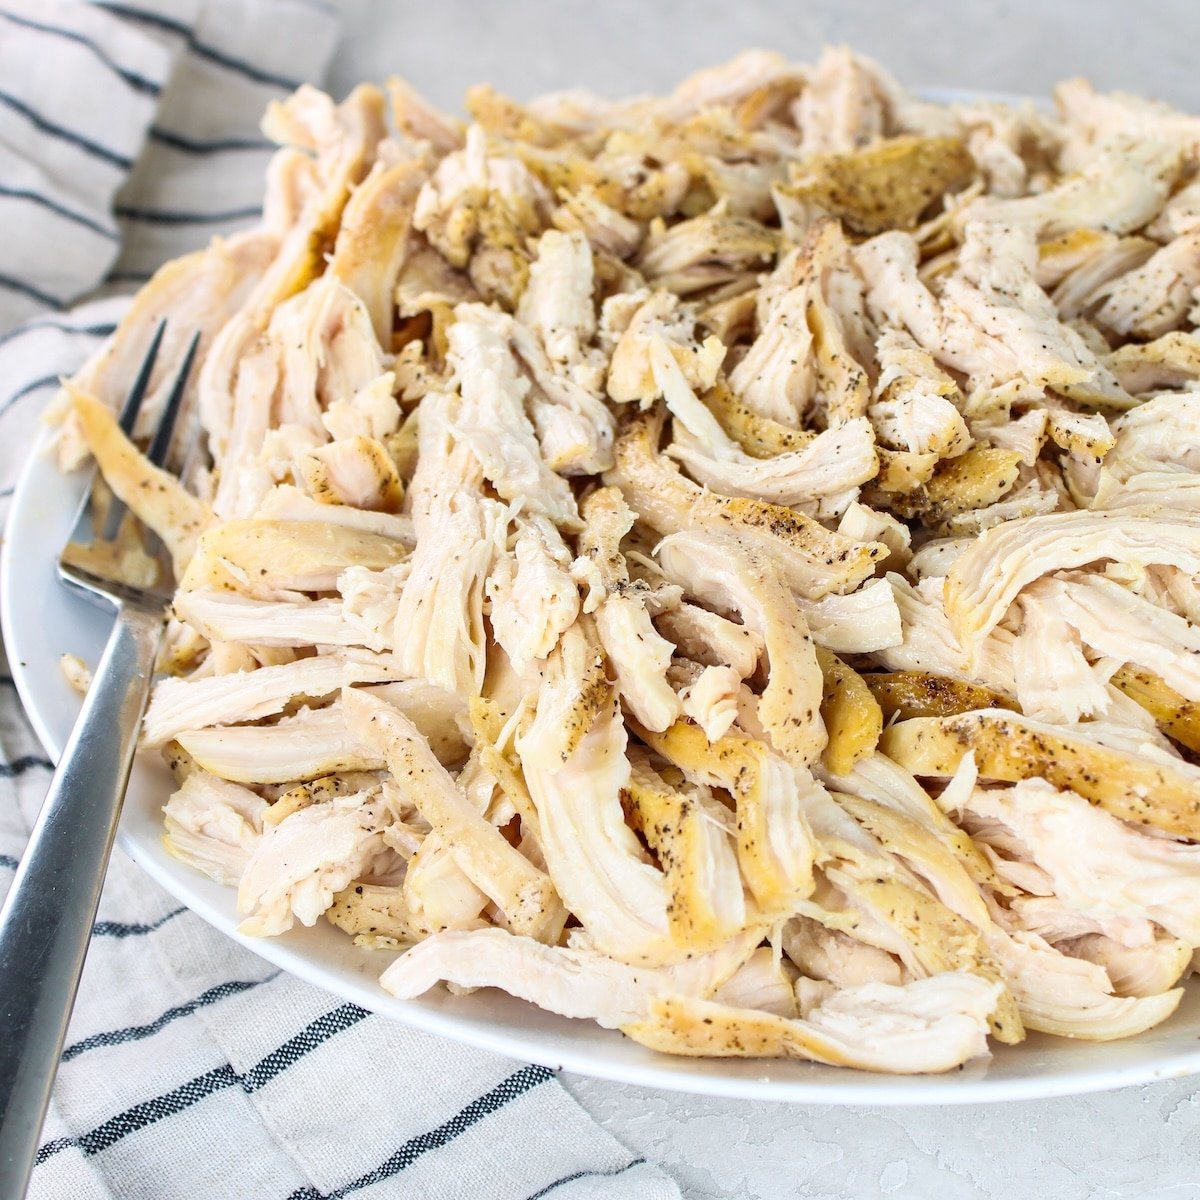
5. Shred to Perfection
Now for the fun part! There are several ways to shred chicken:
- Two Forks: The classic method. Hold the chicken steady with one fork and pull the meat apart with the other, working along the grain.
- Stand Mixer: For larger batches, place the rested chicken in the bowl of a stand mixer fitted with the paddle attachment. Mix on low speed for 30-60 seconds, and watch it magically shred itself!
- Hand Mixer: Similar to the stand mixer, a hand mixer can also quickly shred chicken in a sturdy bowl.
Once shredded, transfer the chicken back into the skillet with a bit of the reserved cooking liquid (about ¼ to ½ cup, or more if desired). This step infuses the shredded meat with even more flavor and keeps it incredibly moist. Toss to combine. And there you have it: your perfect shredded chicken recipe is complete!
Versatility and Meal Prep with Your Perfect Shredded Chicken
This easy juicy shredded chicken is a blank canvas, ready to be transformed into a myriad of delicious meals. Its tender texture and rich flavor make it incredibly adaptable:
- Tacos, Burritos, & Enchiladas: The ultimate filling for your favorite Tex-Mex creations.
- Salads & Sandwiches: From a simple chicken salad sandwich to a hearty Cobb salad, it adds protein and flavor.
- Soups & Stews: Stir it into a classic chicken noodle soup, a creamy tortilla soup, or a hearty chili.
- Casseroles & Pasta Dishes: Elevate mac and cheese, chicken alfredo, or a comforting chicken pot pie casserole.
- Quick Protein Boost: Simply add it to scrambled eggs, rice bowls, or top a baked potato.
For meal prep, divide the cooled shredded chicken into airtight containers with a bit of the cooking liquid. It will stay fresh in the refrigerator for 3-4 days or can be frozen for up to 3 months. Thaw overnight in the fridge and reheat gently on the stovetop or in the microwave.
Conclusion
The sear & steam method is more than just a technique; it's the definitive guide to the perfect shredded chicken recipe. By combining the rich flavor development of searing with the gentle moisture-locking power of steaming, you'll consistently achieve chicken that is incredibly tender, bursting with flavor, and never dry. Say goodbye to bland chicken and hello to a world of culinary possibilities. Give this method a try, and prepare to be amazed at how easily you can create a truly exceptional ingredient that will revolutionize your meal prep and everyday cooking.
